Following this Elden Ring walkthrough guide can assist you to stay on track in a vast, often overwhelming, open world with many directions. While you can find something new and go anywhere after choosing your Keepsake and Starting Class, you must follow a vital path to see the ending of the major region.
In typical FromSoftware fashion, you will be given hints of where to go, but it isn’t always made all that clear to you. It is crucial to know where you are going, especially if you want to finish the game as quickly as possible, even if you take a few hour detours before you arrive at the end or optional bosses.

How Does This Elden Ring Walkthrough Guide Work?

Elden Ring has a critical path and a set number of required main bosses you must defeat before completing the game, much like previous titles by FromSoftware. Unlike other FromSoftware games, most regions and tough enemies are available right away, and if you know where to go, it is easy to get sidetracked.
The best way to play the game is to discover what takes your interest and find a range of awesome weapons and great runes at your own pace. If you follow the critical path, you will also open up new areas that contain valuable items you will love to add to your inventory. There is also great variety in the staff’s available in Elden Ring, with different properties, and uses, you can see them in our Elden Ring staff article
This Elden Ring walkthrough shows you how to follow the main path through the game. However, we will offer additional suggestions for side content, such as optional quests and bonus boss fights. It is important to note that this walkthrough is not a complete step-by-step walkthrough on finding and beating the whole game.
If you want more minor spoilers of how to finish the game, then you should check out the main boss list. This can help give you an overview of what must be done to finish the game and defeat the final boss.
Beyond that, you can also check out this page that provides you with additional information on all the Elden Ring endings and great runes.

Limgrave and Stormveil Castle

It is important to note that you don’t start here before we jump into a guide of the first region of Limgrave.
Once you decide on a Keepsake and Starting Class, you find yourself at the Chapel of Anticipation. Please remember that this is a FromSoftware Game, so don’t worry if you die at the first boss; you will begin the game properly after you die.
After you respawn, you will be in the Stranded Graveyard, which has a challenging tutorial. Once you make your way out of the cave, you will come to the open world of The Lands Between.
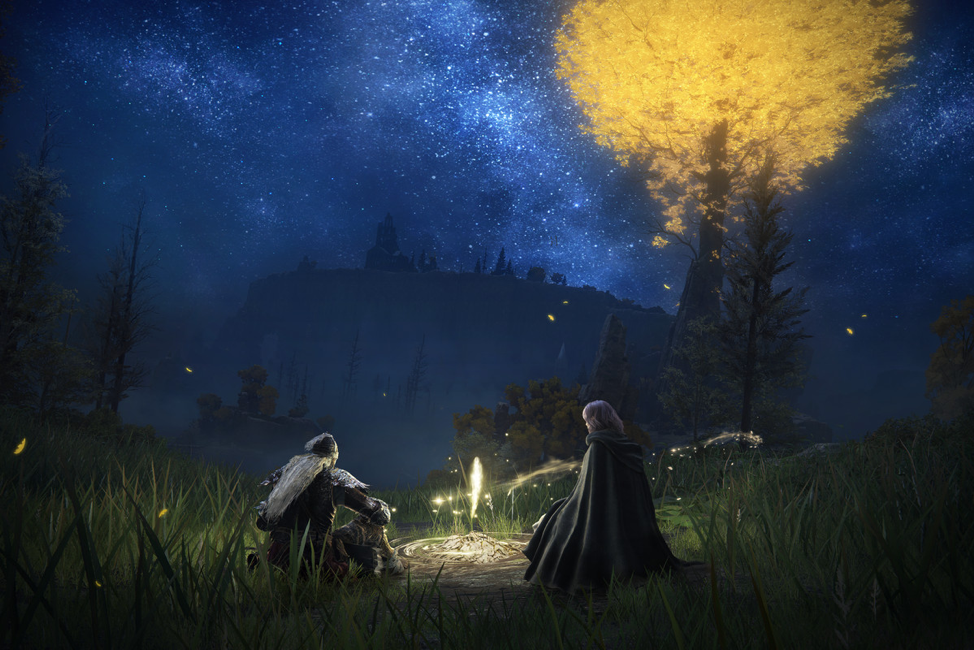
You will see the Guidance of Grace appearing on your map screen as yellow directions; you can use these as vague indicators of the critical path. Once you activate the Site of Grace in front of you, you will notice a church down the road; head towards it.
There will also be a considerable knight riding a horse, known as the Tree Sentinel, and he will be pretty tricky to beat. Our suggestion is to head to the Church by going wide around him.
Now that you have arrived at the Church of Ellah, you can purchase goods from the Merchant and upgrade your weapons. You can buy a crafting kit for 200 runes; this is an essential item that allows you to craft products from things in the game. Ensure that you collect Runes by destroying enemies or take a Rune item from your stash(if you missed it, there is one right in front of the Church’s front door.) It may be worth it if you pick up a torch for your adventures too.
Head in the direction of the streak of light emitting from the Site of Grace at the Church; by following the road northwards, you will get to the next destination.
After you have gone over the hill, you will find an enemy encampment; circle it to the left, and you will see a Site of Grace and a massive stone structure, ensure that you rest there.
Once you have rested, a cutscene will display, then accept Melina’s offering, and she will give you a Torrent and let you level up at every Site of Grace. A torrent is your spectral steed for the time you play Elden Ring. It’s important to note where the Gatefront Site of Grace is located, so mark it out on your map.
It’s also worth picking up the Whetstone Knife and the first Limgrave map fragment while visiting the Gatefront Ruins.
We recommend you explore Limgrave for a bit during this time, mark challenging locations so you can come back to them later, earn some runes, and obtain items and equipment.
It is good to understand what to do first in Elden Ring, so make sure that you check out specific locations that you may consider visiting through our other guides. You can also roam freely and see what you discover; with Elden Ring, you never know what is around the next corner.

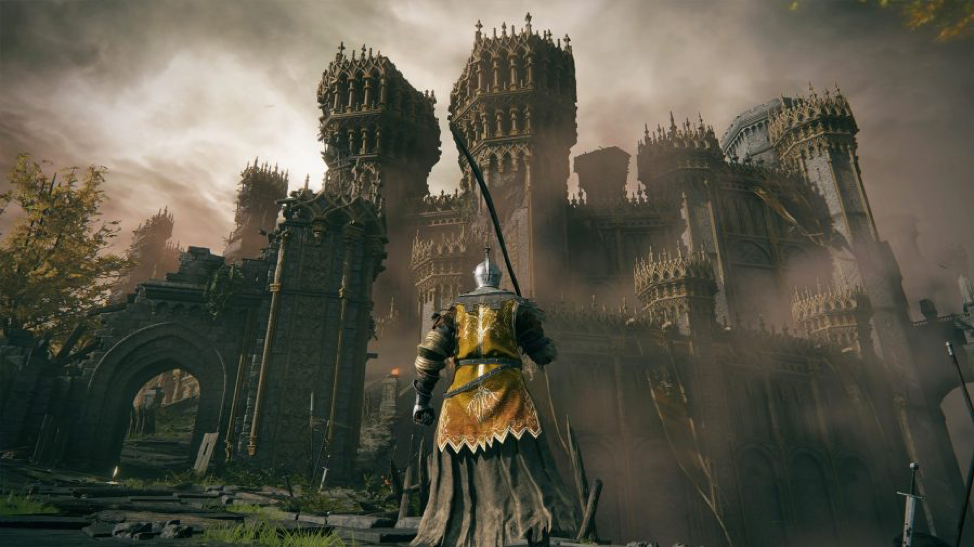
Stormveil Castle
In order to get from the Gatefront Site of Grace to Stormveil Castle, follow the path under the stone building, and follow the road for a little bit. You will come across the Golden Seed and another bright tree, so ensure you collect that.
The road takes a turn to the left, at which point you should be met with a hoard of formidable enemies guarding the entrance of Stormveil. Behind the foes, there is a long tunnel; head down it and active the Site of Grace.
You will encounter your first central boss in Elden Ring on the other end of the tunnel. The Elden Ring boss is known as Margit, The Fell Omen, and protects this area; you will need to beat him to gain access to Stormveil Castle in Elden Ring.
Please note that this is a considerable challenge, so it may be better to explore Limgrave first if you are struggling. If you want to go to the Liurnia area, skip Storveil Castle. In the Liurnia area, you can find helpful things to assist you in Elden Ring’s vast open world, including some of the best early armor sets.
However, you have to beat Margit to complete Elden Ring, so come back whenever you are ready.
After you have destroyed Margit, you can get into Castle Stormveil if you head left up the stone steps, where you will see a closed-off gate. On your left is an opening, and there is a non-playable character who can open up the grand lift for you.
The NPC will recommend that it is much easier to go around the outside of the Stormveil Castle than going through the huge hole in the same room.
Stormveil is a massive labyrinth and is the first significant Legacy Dungeon in Elden Ring. What’s great about this Legacy Dungeon is that it is not too confusing, with loops being created and paths opening up as you go. Keep exploring until you discover the Secluded Cell Site of Grace displayed on the map.
What’s great is that there are multiple ways to get there, and there is no right or wrong way to do it. You must level up, beat enemies, find items, and explore the dungeons until you arrive.
There is a fog gate next to the Site of Grace; heading through it will put you against Godrick the Grated, another vital boss on the Elden Ring’s critical path. Head to the door at the end of the Godrick Boss fight arena and go through the dungeons region. There is only one way to go, and it is a concise mission.
Finally, you have reached Luirnia. The Raya Lucaria Academy is your next destination and is the giant white building on the horizon of the open world.
Raya Lucaria Academy and Liurnia
Now that you are in a significant region, you need to go to the Academy, a Legacy Dungeon, to fight some essential bosses. Before you run past the lake, you need to locate a Glintstone Key, as this is the only way to enter the Academy.
With the key, you must move towards the Academy Gate Site of Grace in the lake, marked on your map. From here, follow the damaged road in its northwest direction.
It would be best to come across another glowing tree and Golden Seed after navigating some sunken buildings and the first church.
Once you carry on the northwest route, you should see some steps and barricades. Head up the staircase, and you will be met with a town square area. It would be best if you followed the path around the right. You will come across many enemies here, but if you sneak your way around the edge of either side of the location, you should only need to fight a foe or two. Players can also get a torrent and sprint past the mall.
You should see a stone slope overgrown with plants once you have made your way around to the square’s right-hand side. This is the entrance to Raya Lucaria Academy. Examine the seal after you have headed up to the gate. You will be teleported once you have completed this.
Start by activating the main Academy Gate Site of Grace and go over to the left; there will be an elevator that you can use to go up to the Raya Lucraia Academy Legacy Dungeons.
Next, you should head to the church and make a left turn at the enemy standing in front of the altar. If you make another left, you will find yet another Site of Grace. From here, the Academy is pretty simple as you venture through the graveyard and go up some fire giant moving platforms and past a massive amount of sorcerers until you come to another fog gate.
Behind this gate, you will find the third boss in this Elden Ring guide this is imperative to the main quest. The boss’s name is Red Wold of Radagon. You will unlock the Debate Parlour Site of Grace once you defeat it, so good luck.
The last boss of the Academy in Elden Ring is close to the Site of Grace and can be reached quite easily. This boss fights uniquely, and once you defeat her, you can now respect Elden Ring; this is valuable if you need to adjust your stats to suit a different playstyle.
A Boss Called Maliketh, the Black Blade
Elden Ring has a vast open-world filled with essential and optional bosses, especially in the Royal Capital and Redmane Castle. When you come across Maliketh, we recommend using Spirit Ashes to defeat it or any other mini-bosses you encounter. Use this Elden Ring Walkthrough guide as a resource.
This will be one of the most challenging fights of the game, so be prepared for a battle. Beat Maliketh, and you will feel like you have accomplished something meaningful.
Final Boss Fights
After venturing through Lyndell and Altus Plateau, you will come across various optional bosses, and that is where you should use our boss guides to figure out how to defeat them. Below are listed some of the more prominent bosses at the end of Elden Ring:
- Elden Beast
- Radon of the Golden Order
- Godfrey, the First Elden Lord
- Hoorah Lous
- Sir Gideon Ofnir, The All-Knowing
Once you have defeated the final boss, you get your ending and will be asked if you want to start a new game plus. Head over to our helpful links and boss guides to learn how to challenge optional bosses.
Conclusion
Now that you have battled your way through Elden Ring, it’s time to replay the game so you can experience the other endings. Players can enjoy this game on PC, PS4, PS5, or Xbox Series X, so that is no excuse not to give it a go.
With many bosses in Elden Ring, you will be spoilt for choice when it comes to challenges. By defeating all the optional bosses, you will have a chance to view a different ending on your second phase walkthrough of the game.


